Sometimes I wish learning was straightforward. But it seems that at all grade levels, no matter what you teach, there are exceptions to the general rules that you teach. I first noticed it when I was teaching my child to read: short vowels, long vowels, silent e, and letters that make two different sounds. And. . . math isn’t that different, like when 0=1. Today we are going to talk about that rule as we dive into tips for teaching exponent rules. I might not be able to make all the learning straightforward, but I can share some ideas on how to make the learning process a little easier.
How to Teach Exponent Rules
Once I know my students have a solid foundation of the basics of exponents, I introduce them to additional exponent rules. I use the Exponent Rules Math Doodle Wheel to guide me on how to teach exponent rules in a way my students can understand and connect to their prior knowledge.
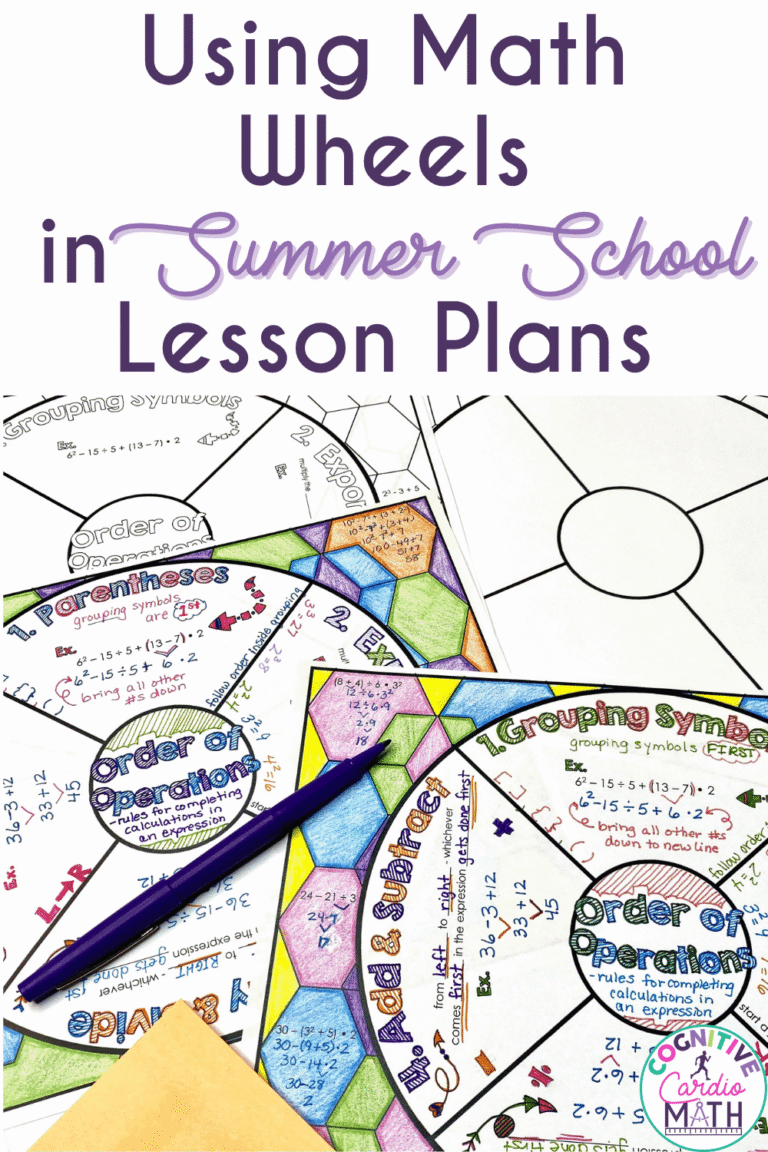
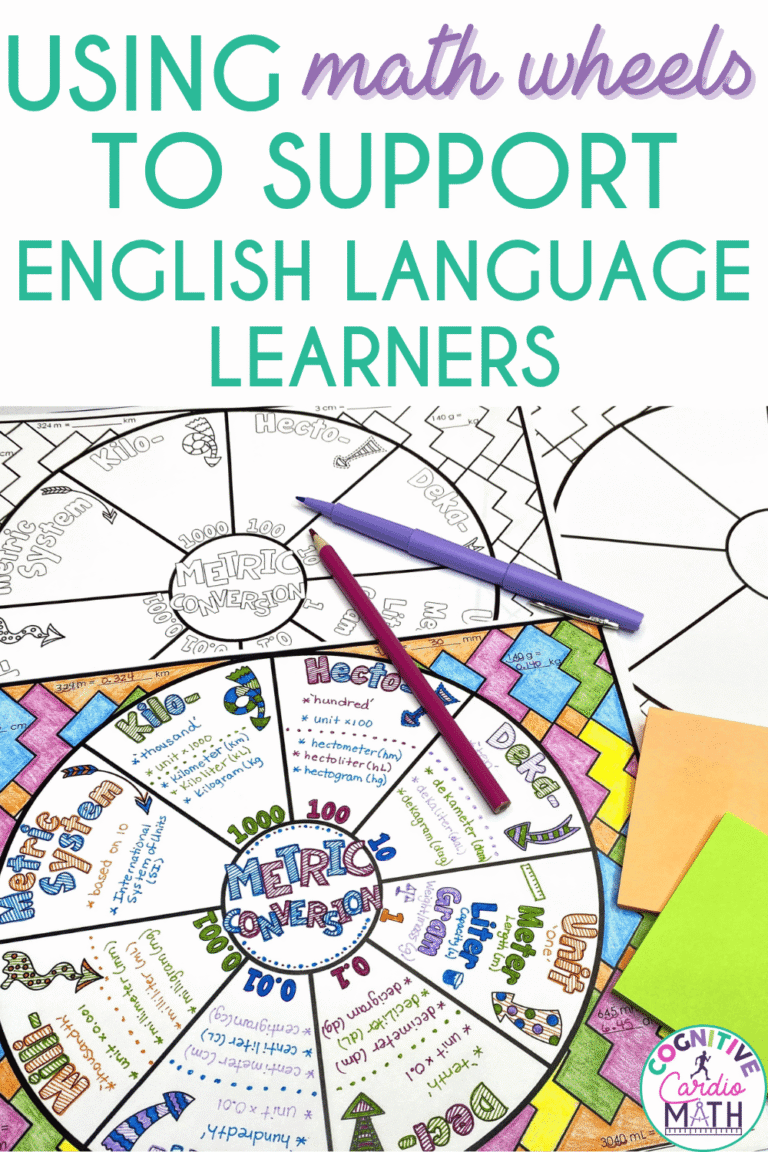
Math Doodle Wheels are interactive note-taking resources that engage students during the lesson, but also help them create a reference tool they can refer back to all year long. They are skill-specific, integrate notes and practice, and students really love them. Learn more about Math Doodle Wheels and how I use them in this post.
This Exponent Rules Math Wheel is divided into five sections, with each section focusing on a different rule related to exponents.
So. . . let’s dive right in and explore each of the rules.
1. Zero Exponent Rule
Remember what I said about confusing math rules like 0=1? Well, let’s get this one out of the way first. The Zero Exponent Rule simply says that any time there is an exponent of 0 the answer will be 1. While it is an easy rule to remember, I find that sometimes students have a hard time with this rule because they have learned that multiplying anything by 0 equals 0. I get it! We teach them that exponents are multiplying the base times itself and the exponent tells us how many times. So, 30 sounds like “multiply 3 by itself 0 times.” And with that, you have understandable confusion.

That’s why I make sure to start by reminding students that we don’t multiply the base by the exponent. It helps to have them create a visual of the rule in action. I start with something like this: x0 and ask them to write down what that means. Some students write ‘x’ and others write nothing since the exponent is 0. This helps students see that there is no computation to be done with an exponent of 0.
Then I teach them to simply apply the rule: Whenever we see a base number with an exponent of 0, the answer will be 1. Then we jump into a few examples to help them put this new rule into practice. For example, 30 = 1, 190 = 1, and 7590 = 1.
Next, we apply this rule in an expression, we write down 5x0. We walk through the steps to simplify this expression using the order of operations. First up is exponents, so we solve for x0. At this point, we talk about the fact that the 0 exponent only applies to the x and not to the 5. We change x0 to 1, substitute it into the expression, and complete the simplification. The problem becomes 5 * 1, which equals 5.
2. How to Teach Exponents with the Product Rule
In the second section, we take a look at multiplying a couple of base numbers that have exponents. We first write out the formula: xa * xb = xa+b. When multiplying the same base number, you keep the base number the same but add the two exponents together.

To help my students see this, we look at 33 * 34. We read this as “three to the third power” or “three cubed” and “three to the 4th power”. In expanded form, it looks like this 3 * 3 * 3 * 3 * 3 * 3 * 3 = 37. By writing this out in color-coded expanded form, students can clearly see the 33 in one color and the 34 in another color. But the expanded form helps them also see that it is the same as 37.
By using the product rule formula, we can simplify what is being written. Let’s take a look at this example: x4 * x5. By following the formula, we would keep x as our base number but then add the 4 and 5. Our final answer would be x9. Another example would be 56 * 52. We would keep the base number, 5, and then add the 6 and 2. Our answer would be 58.
3. Quotient Rule
For the Quotient Rule, we talk about what to do when you are dividing exponents. Although it looks complicated, it is really quite easy. Instead of adding the exponents, we subtract them! We take a look at the formula, which in this case, is xa/xb = xa-b.

So, we take a look at the problem 26 divided by 23. In expanded form, 2 * 2 * 2 * 2 * 2 * 2 / 2 * 2 * 2. Since we are subtracting, we look at the bottom exponent and take away that number from the top exponent. I like to physically cross one out from the bottom and then the top until all of the bottom exponents are gone.
The next example I show my students uses the formula without the expanded form. For this example, we have x9/ x2. We keep the base number the same and subtract the exponents 9 and 2 to get our new exponent of 7. Our answer is x7.
My 6th grade students became experts at this rule, and with basic exponent concepts, without even knowing it, because we used expressions like 26/23 in our Math Dates every day!
4. Power Rule
In this rule, parentheses play a role! Just like with the quotient rule, it’s almost like an alarm goes off in my kiddos’ brains when a symbol pops into their math problem. They immediately think that the problem is complicated. The key here is to remind them that they are already familiar with parentheses and their role due to the order of operations. They will act in a similar way in this rule!

We take a look at the formula (xa)b = xab, which has us multiplying the exponents. We take a look at our first example (52)4. Our base number is 5, which stays the same. The parentheses tell us that we need to multiply our base number four different times.
In expanded form, that would look like (5 * 5) * (5 * 5) * (5 * 5) * (5 * 5). Our answer would be 58 because we have eight 5s. On the Doodle Wheel, I like to underline each set of 5 * 5 (or 52) so the students can easily see that we did 52 four times. Once they can see it written out, they can easily make the jump to 58.
The process can be simplified by using our formula! Our next example is (33)5. According to our rule, our base stays the same, and we multiply our two exponents, 3 and 5. If we do, then it will look like 33*5. Once we multiply the exponents, our final answer is 315.
For the last example, we kick it up a notch. Here students will apply an exponent to both a coefficient and a base. Here’s the example I use: (2x2)3. In this case, the exponent outside the parentheses will apply to both the coefficient and the base. We do each of these separately. First, we multiply 2 by itself three times, which would look like 2 * 2 * 2 = 8. Now, we have 8x2*3, which equals 8x6.
5. Negative Exponent Rule

In our last section, we look at the formula x-a = 1/xa. To make the negative exponent positive, we put the base and exponent into its fractional form and then flip it. For example, say our base number is 4, and it has a -3 for the exponent. It would look like 4-3. The fractional form would be 4-3/1. To make it positive, we would flip it by making it into the fraction 1/43.
We try another example: x-8. We put it into its fractional form x-8/1. Flipping that fraction makes the negative exponent positive and creates the fraction 1 / x8.
Finally, we tackle the negative exponent rule when there is a coefficient other than 1. The key to this rule is for students to understand that the coefficient remains in the numerator, while only the base and exponent move to the denominator – because the exponent is only applied to the base. In this example, 2x-2, the coefficient is 2. The 2 stays in the numerator and only the base and exponent are flipped. The answer is 2/x2.
Putting the Exponent Rules into Practice
As with anything we teach, students need to practice what they have learned. That’s why the doodle wheel includes practice problems around the outside of the wheel. Students work on these problems first, using the doodle wheel to help them choose the correct exponent rule to apply.
Depending on the class, we might do these problems as guided practice or independent practice. But no matter what we do, I always make sure to go over them together. I want to make sure students have the correct answers written on their wheel since this will be a reference tool they can use.
Are you ready to dive into exponent rules in your classroom? Grab the Exponent Rules Doodle Wheel and help your students master exponents in no time.

More Exponent Resources for You
Exponents can be a tricky topic to teach. Whether you are just introducing exponents or diving into these exponent rules, I’ve got lots of resources you can use.
- How to Teach Exponents in Middle School with Math Wheels
- Playing Exponent War: An Exponent Activity for 6th Grade Math
- Exponent Activities Bundle
Save These Exponent Rules Teaching Tips
Did you find these tips and ideas helpful? Save this post to your favorite math Pinterest board so you can quickly come back the next time you are teaching exponent rules in your math class.