Does this sound familiar? You’re close to finishing a resource for your classroom, or for TPT, and then you decide you want to rearrange/move elements, add/change the clip art, or change the font. That may not be a huge deal if your pages are all designed differently, have no repeated elements, or there aren’t many pages; but if you’re creating task cards or multiple pages with the same elements over and over on all the slides, making those changes can be a pain unless you are using slide masters!
Using Slide Masters Can Help!
All those little changes can be made more quickly and easily if you create your resources using slide masters (in PPT or in Google Slides). Slide masters make some parts of resource creation a bit faster – using them can definitely save you time!
Before we look more closely at how they work, check out a few benefits of using the slide masters:
- If you decide to change an element you’ve used repeatedly (like its size, position, color, font), you only have to change it once – on the master.
- If you forgot to add something on every slide (like room # or copyright info), you only have to add it once – on the master.
- If you want to remove something you had on every slide – remove it from the master and it’s gone from every slide that used that master.
- If you ever have trouble with accidentally moving an element when you’re trying to edit another one, slide masters help with that too! Anything that’s on the master can’t be moved or changed on the individual slides – so it’s easy to add other page elements on top of ‘master elements’ and not worry about misplacing those elements or having to move them to the back, etc.
What Exactly Are Slide Masters?
According to the PPT description, “Slide Masters control the look of your entire presentation, including colors, fonts, backgrounds, effects, and just about everything else. You can insert a shape or a logo on a slide master, for example, and it will show up on all your slides automatically.”
So, slide masters are basically a way to control the elements on your slides.
Using Slide Masters
Setting Up the Page
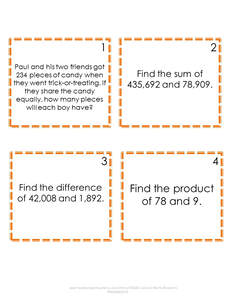
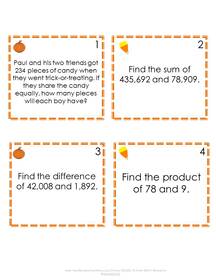
Take this page of Fall Footloose task card that I made back in 2013!
I created this using my process at that time: set up the first page the way I thought I wanted each page to look. I would set the distance between cards, the distance between top and bottom, the size of cards, card numbers, etc., and then duplicate that page and add my text to each card.
However, when I was done, I decided to add some clip art in the left corner of each card. First, added the clip art and then I had to copy and paste them on all the slides. A change like this can be time consuming. But it doesn’t have to be!
To avoid spending this extra time, I’ve finally decided to start using slide masters.
This method allows me to place all the common elements on the slide master. The background, test, clip art, and more all goes on the slide master. Once it is set, apply the master layout to all the slides at one time.
I like that this method puts all those elements on the individual slides and makes this unmovable. That way I can’t accidentally nudge them out of place.
If I want to add something after I’ve completed all the pages (or take something away…or resize it), all I need to do is make the changes on the master, and it will be changed on ALL the slides using that master. Awesome, right? Such a time-saver.
Making Changes Using Slide Masters
I’m currently redoing this resource using slide masters. Redoing takes a little longer than using slide masters from the start. However, it will save any new editing time later on.
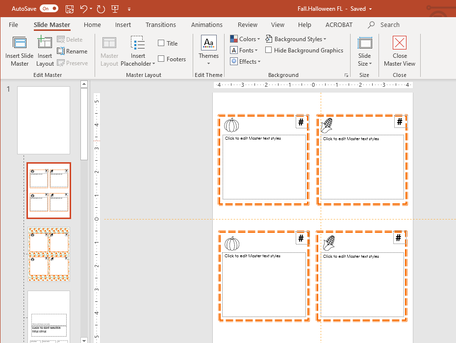
The image on the right has my new tentative layout on the slide master. I’ve moved the boxes a bit, changed the clipart, and added placeholders for my text and my card numbers.
Now, I’m not sold on the orange outline, but that’s ok! If I finish everything and decide I want to change it will be easy to do. I can change the outline to dark brown or black in a snap. I’ll make the change on this slide master and all the cards will update automatically. This is so much faster than selecting them and changing the color on all the individual pages!
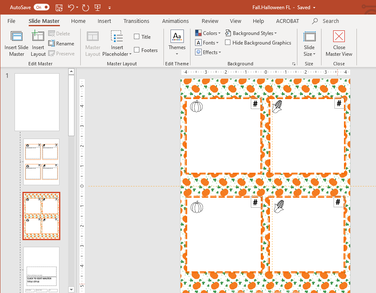
I normally make my task cards with a patterned background option, in addition to the plain white background. So, I created a second slide master for this resource, with the background.
How-To Video
As a visual learner, I love to see things in action. That’s why I created a short demo video. If you would like to see how to use slide masters you are in luck. Check out the “Creating Resources” video in the Free Resource Center. You can also download a PDF from the Free Resource Center. Both the video and the guide take you step-by-step through the basics of using slide masters.