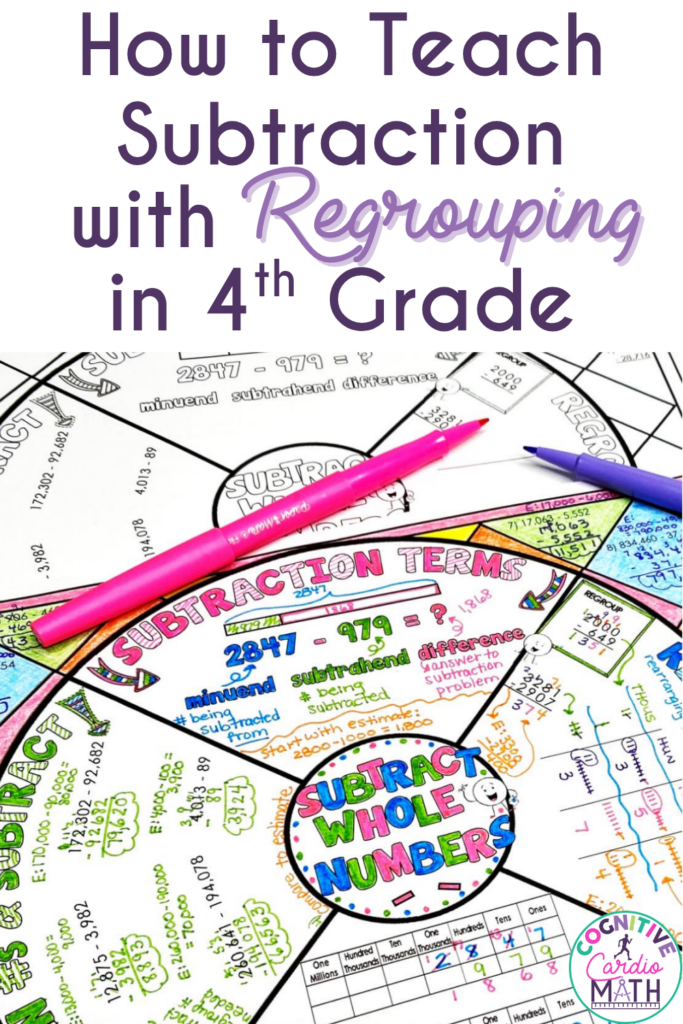
Subtraction with regrouping can be tricky for your students, especially as they work with larger numbers. Some students forget to adjust the number after regrouping. Others will be confused when there are zeros in the problem. Before you know it, you’re explaining the same steps several times, and some of your students are still unsure what to do next. The challenge is that students need more than a list of steps to memorize. They need to understand how place value works and why regrouping is necessary. With a few intentional teaching strategies, you can help your students make sense of subtraction with regrouping and build confidence as they work through multi-digit problems.
Build Place Value Understanding Before Subtraction With Regrouping
It’s tempting to jump right into the steps for subtraction with regrouping, especially when your students have already worked with place value. Knowing that a number has hundreds, tens, and ones isn’t quite the same as understanding how those values can be exchanged. Before introducing the written process, make sure your students can explain what regrouping actually means. A quick review with base-ten blocks or a place value chart can make those next steps much easier to understand.
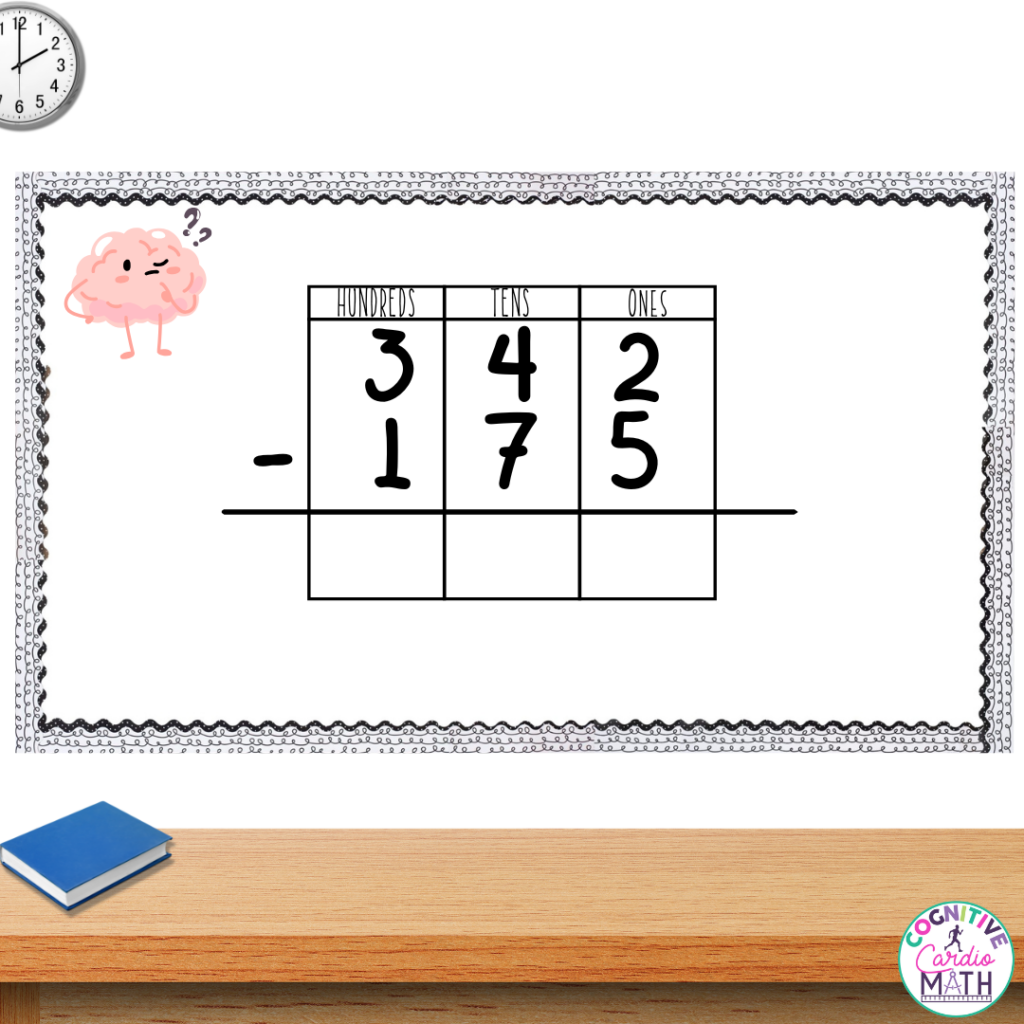
Start with a problem like 342 – 175. Instead of immediately showing your students how to cross out numbers, use base-ten blocks or a place value chart. Represent 342 with three hundreds, four tens, and two ones. Then ask them, “We need to subtract five ones, but we only have two. What could we do?”
Guide your students toward exchanging one ten for ten ones. Now they have three tens and twelve ones. You can then ask them, “Did we change the value of 342, or did we just represent it differently?” This helps your students recognize that regrouping doesn’t change the amount. It simply rearranges the place value groups so subtraction is possible.
Continue working through the problem together, and let your students explain each exchange. Once they understand the process with models, begin connecting those actions to the numbers they write on paper. This makes the transition to written subtraction much more meaningful.
Slow Down When Subtraction With Regrouping Involves Zeros
Just when your students seem to be getting the hang of subtraction with regrouping, a problem with zeros comes along! Suddenly, your students who were solving problems independently are raising their hands again. They know how to regroup from the tens place, but what happens when there aren’t any tens to work with? This is one of those moments when slowing down and returning to place value can make all the difference.
Demonstrate using a problem like 2001 – 462. Ask your students, “We need to subtract two ones, but we don’t have enough. Can we regroup from the tens place?” When your students notice there are zero tens, guide them to look at the hundreds place. Since that also contains zero, they’ll need to regroup from the thousands place.
Work through each exchange carefully. Two thousands become one thousand and ten hundreds. Then ten hundreds become nine hundreds and ten tens. Next, ten tens become nine tens and ten ones. Finally, you have regrouped to get eleven ones. Your students should now recognize that the original number 2001 is represented as one thousand, nine hundreds, nine tens, and eleven ones.
Have your students explain what happened before they begin subtracting. You may ask them, “How do we know our number is still worth 2,001?” You can even have them add the regrouped values together to confirm. This helps reinforce that regrouping changes how a number is represented, but not its value. You can create visual notes of this process, and others, in my 4th Grade Subtraction Whole Numbers Math Doodle Wheel, which I discuss in the next section.
Use Visual Notes to Teach Subtraction With Regrouping
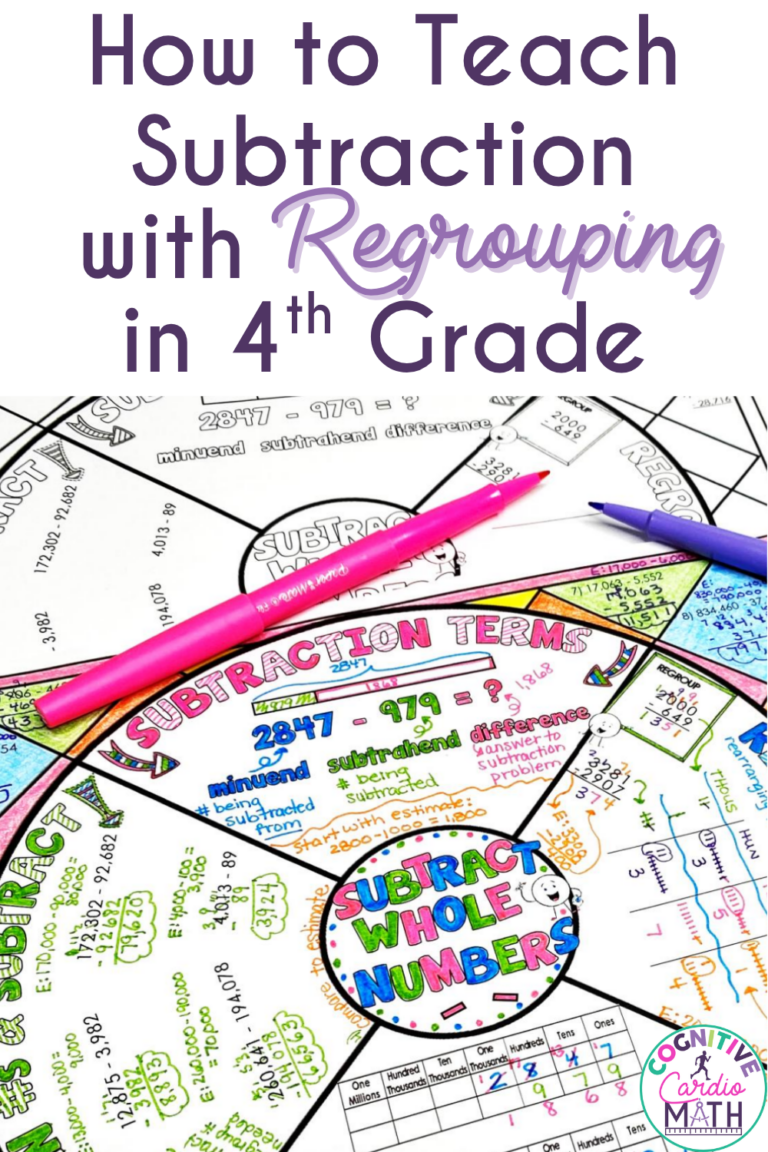
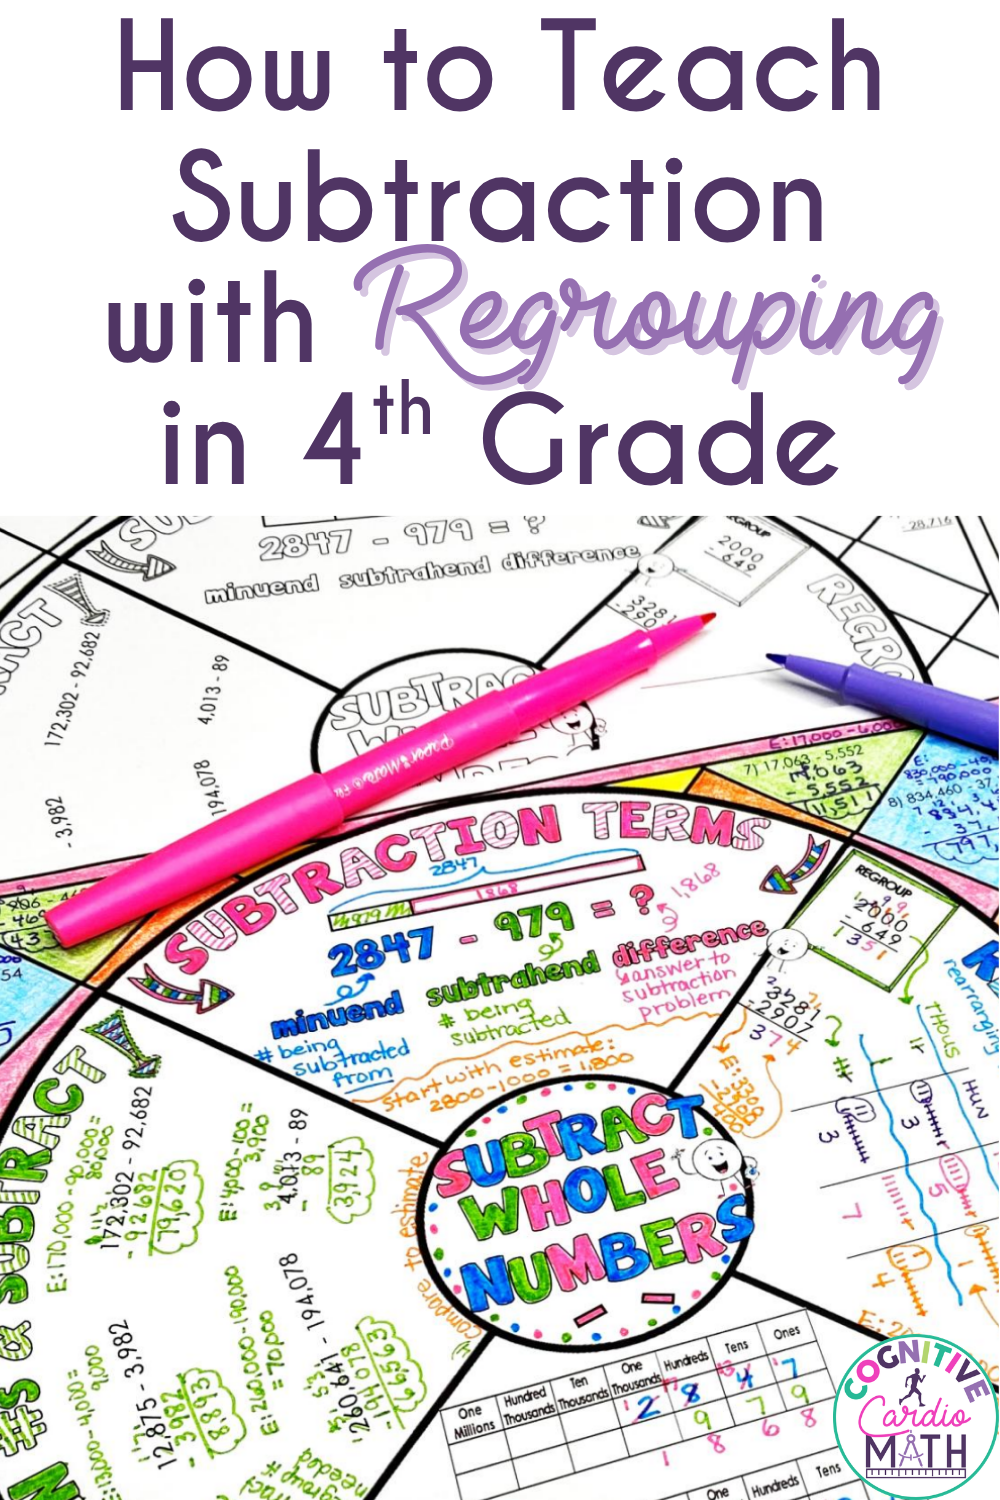
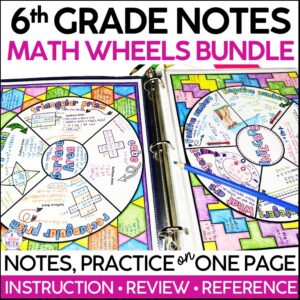
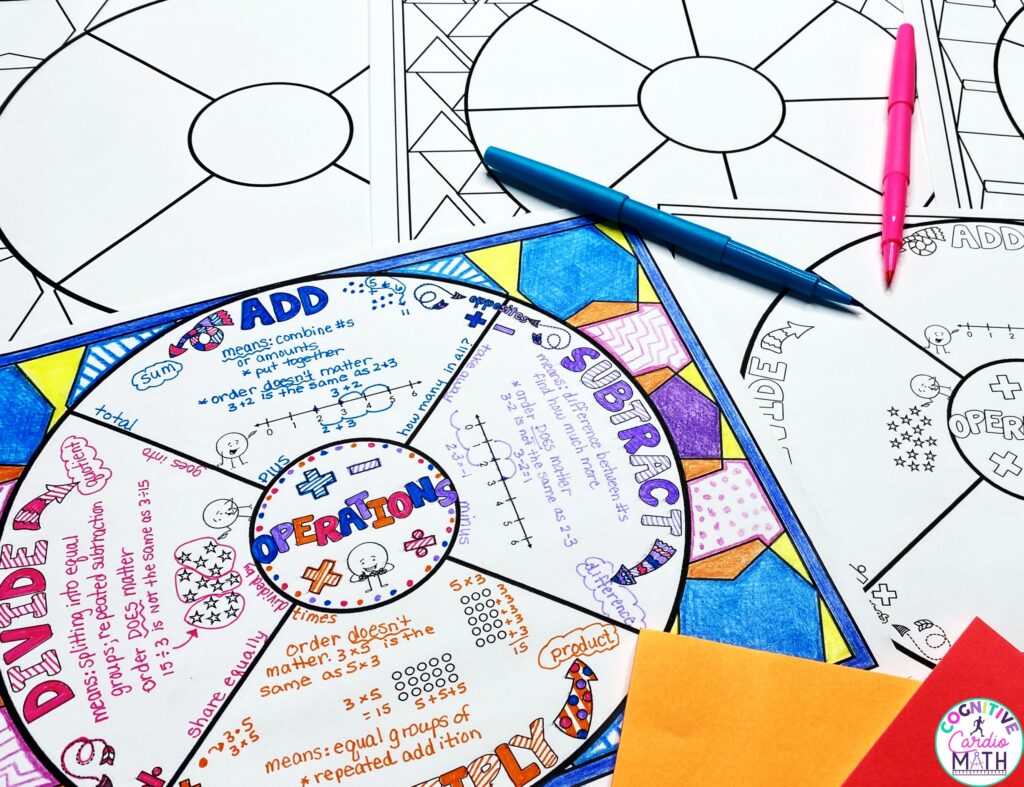
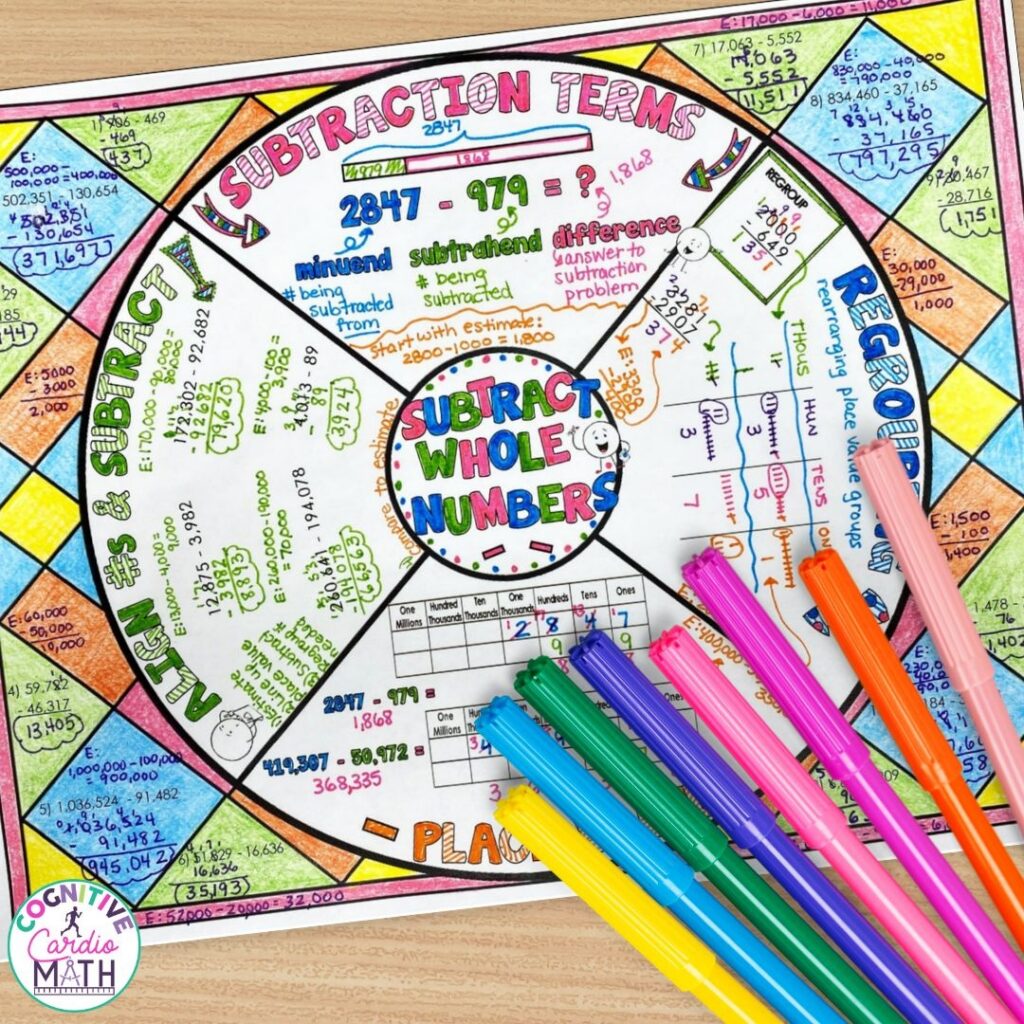
Once your students understand the purpose of regrouping, they’re ready to connect that understanding to a written process. This is where my 4th Grade Subtracting Whole Numbers Math Doodle Wheel can be especially helpful. Instead of having students copy a long list of directions, you can work through the sections together as you introduce each part of subtraction.
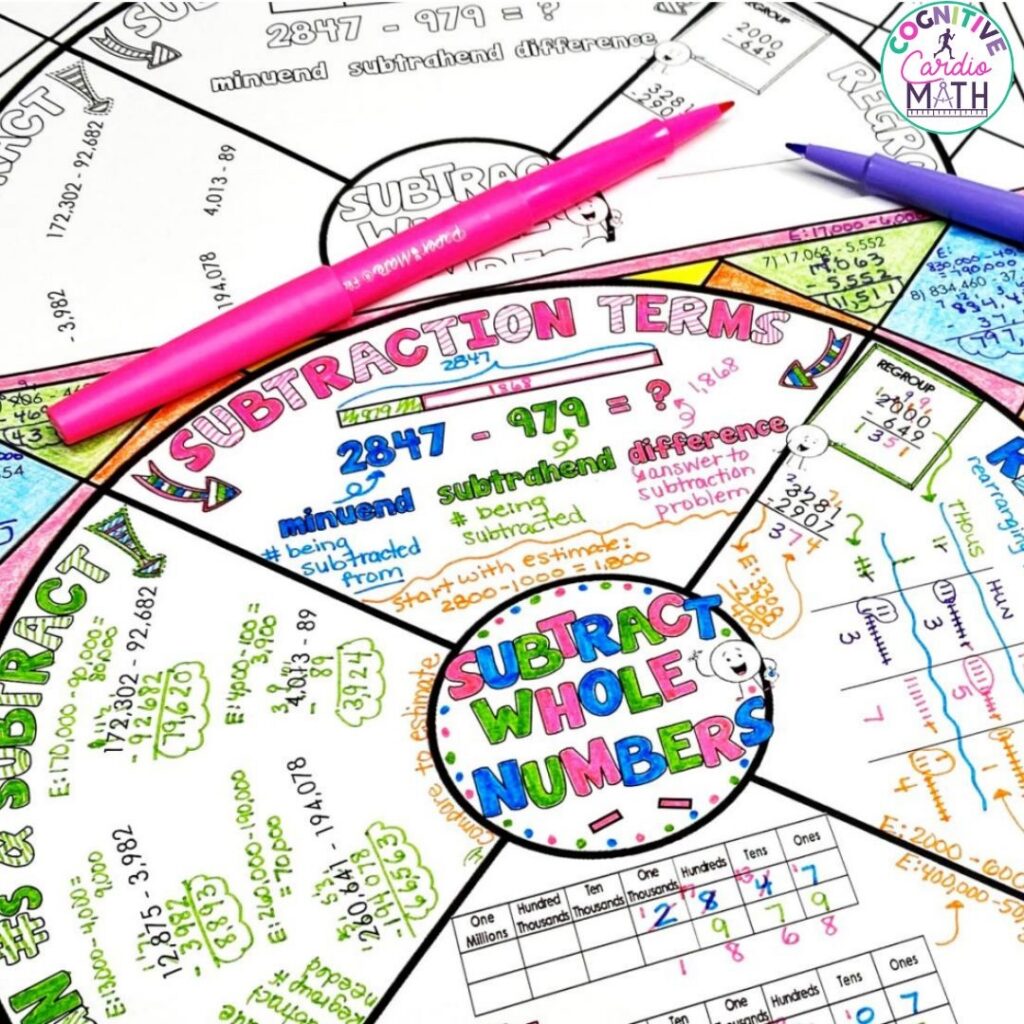
My math wheel includes sections for subtraction terms, regrouping, place values, and aligning numbers before subtracting. I recommend starting with the subtraction terms section so your students understand what each number represents. You can also introduce estimating here and discuss why it’s helpful to have an approximate answer before solving.
The regrouping section is particularly useful because it includes examples using tally marks to represent place value groups. One example shows how regrouping works when subtracting 649 from 2,000. Walk your students through the exchanges and ask them, “Why can’t we subtract nine ones from zero ones right now?” Then show how one thousand can be exchanged for ten hundreds, one hundred for ten tens, and one ten for ten ones.
As your students complete the wheel, encourage them to explain what happens to each place value. I included open-note, fill-in, and pre-filled versions, so you can choose the level of support your students need. The wheel also includes 12 practice problems. Once completed, have your students keep their notes in their math notebooks or binders to refer to during future lessons.
Teach Your Students to Organize Their Subtraction Problems
Sometimes, the biggest challenge with subtraction with regrouping isn’t the regrouping itself. It’s keeping everything organized! Your students might understand exactly what they’re supposed to do, but one misplaced digit can throw off the entire problem. This becomes especially frustrating when they start working with four-digit numbers. Taking a little extra time to teach students how to line up their numbers can save you from correcting the same mistakes over and over.
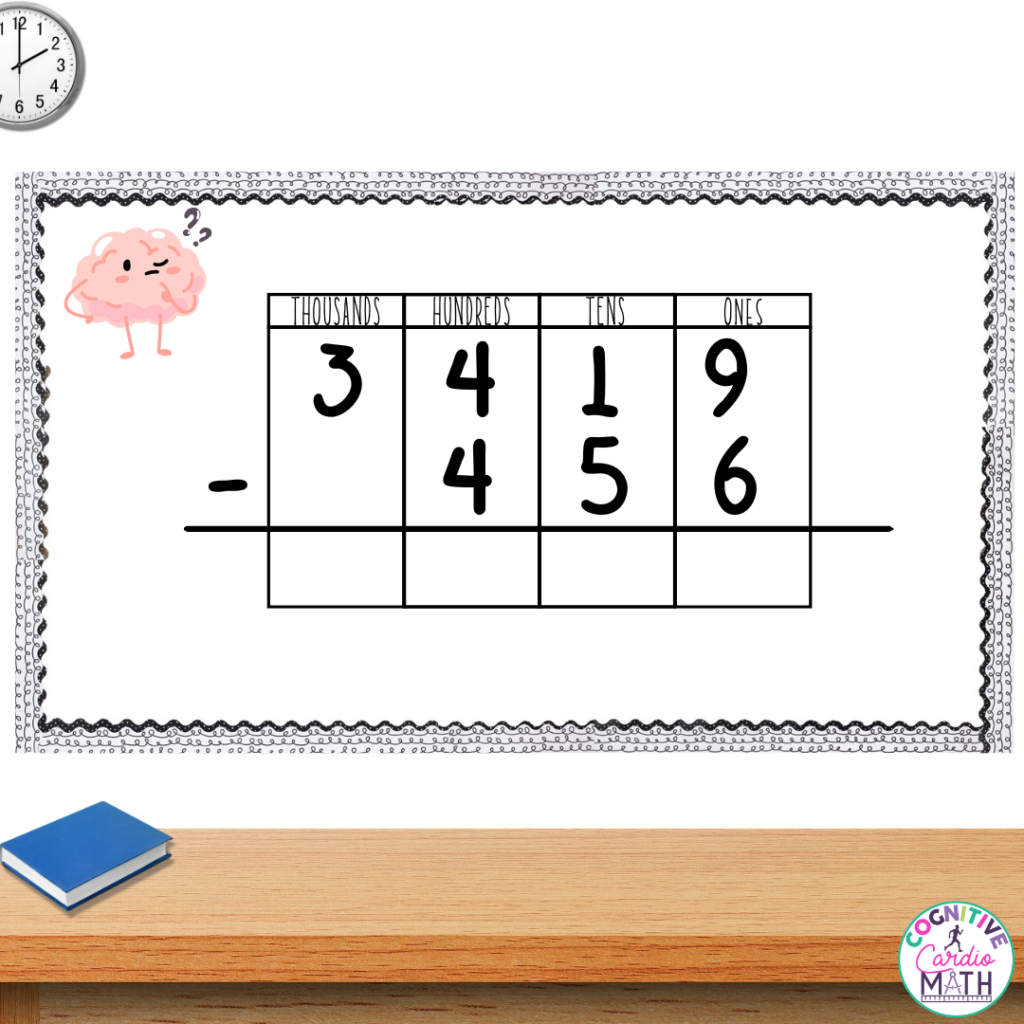
Model this by writing 3,419 – 456 on the board. Ask your students to identify the ones, tens, hundreds, and thousands places. Then, you want to demonstrate how to write the problem vertically, making sure the ones are aligned with the ones and the tens with the tens. You might use graph paper or draw place value columns to help your students stay organized.
As you model, explain what you’re thinking. “Before I subtract anything, I’m checking that my digits are lined up correctly. Now I’m going to start in the ones place and decide whether I need to regroup.” This gives your students a consistent routine they can follow independently.
You can also use the Aligning Numbers and Subtracting section of the math wheel to reinforce this process. It provides a place to record the steps and work through examples. Encourage your students to check their organization before they begin solving, rather than waiting until they’ve made a mistake.
Use Estimation to Help Your Students Check Their Answers
When teaching subtraction with regrouping, it’s easy to focus so much on the steps that students forget to check whether their answers make sense. Estimation gives them a way to check their work before and after solving. For example, write a practice problem like 2,847 – 979 on the board. Have your students round the numbers to make a quick estimate. They might use 2,800 – 1,000 to estimate a difference of 1,800. Then have them solve the original problem and compare their answer to the estimate.
If you have a student who gets 2,768, ask them, “Does that answer make sense? We started with about 2,800 and took away almost 1,000. Should our answer still be close to 2,800?” Questions like these encourage your students to think about the numbers instead of automatically accepting whatever answer they calculate.
My Subtracting Whole Numbers Math Wheel includes estimation within its subtraction notes and practice examples. You can make estimating part of your regular subtraction routine by asking your students to predict an approximate answer before solving. Over time, this can help them recognize when a regrouping mistake has led to an unreasonable result.
Build Independence With Subtraction With Regrouping Practice
After you’ve worked through several examples together, it’s time to see what your students can do on their own. Of course, that doesn’t mean handing them a page full of subtraction problems and hoping for the best! You can start with just a few problems to see who understands the process and who still needs a little support. Sometimes, those first few independent problems tell you more about what your students need than an entire worksheet.
You might begin with problems that require regrouping in only one place value. Once your students are comfortable, introduce problems requiring multiple exchanges or regrouping across zeros. Pay attention to where mistakes happen. Are your students forgetting to reduce a digit after regrouping? Are they subtracting the smaller digit from the larger digit regardless of its position? These errors can help you decide what to review.
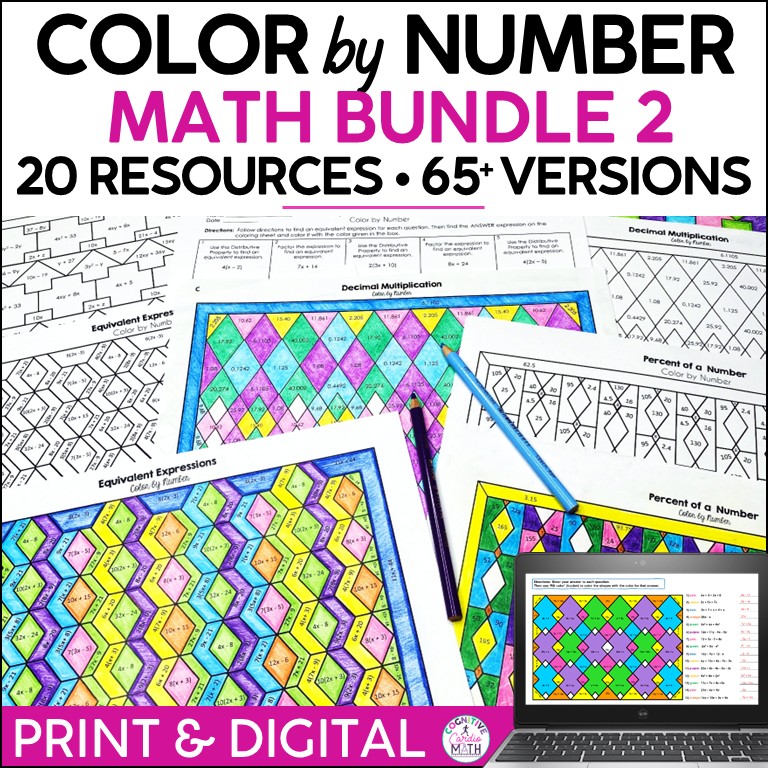
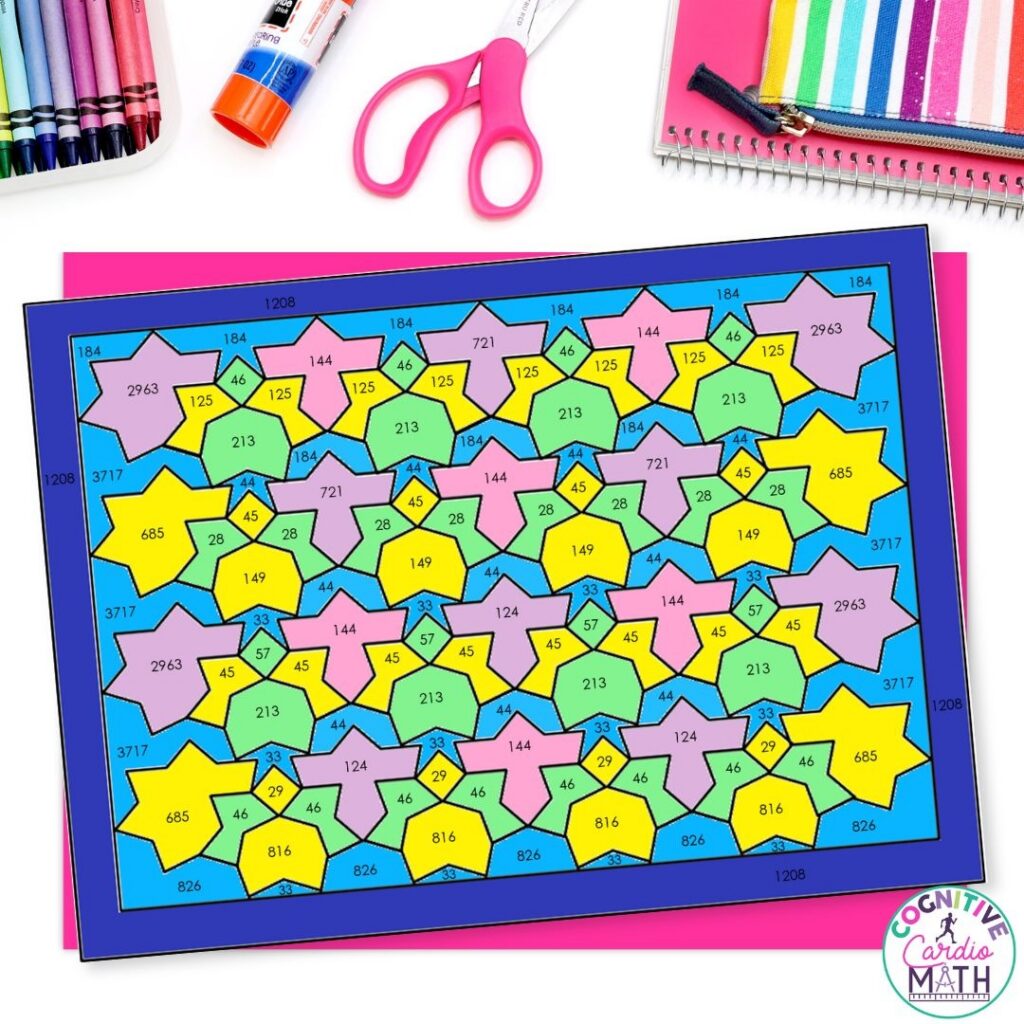
My Subtraction with Regrouping Color by Number activity is a great option once your students are ready for additional practice. In this activity, your students will solve multi-digit subtraction problems, find their answers on the coloring sheet, and color the corresponding sections using the assigned colors. The activity includes word problems, which give your students opportunities to apply subtraction in different situations.
I include two printable versions with 20 different questions in each, along with a Google Slides version. You could use one printable version for independent practice and save the other for review or additional practice later. Because students must solve the problems before coloring, the activity gives them a different way to practice familiar math skills while completing a colorful design.
Help Your Students Explain and Check Their Subtraction Work
As your students become more comfortable with subtraction with regrouping, encourage them to explain their thinking instead of simply showing an answer. This can help you determine whether they truly understand regrouping or are just following memorized steps. You can try this by displaying a completed subtraction problem with an intentional mistake.

For example, show 704 – 268 with an incorrect answer of 546. Ask your students to look carefully at the work and decide whether the answer is reasonable. Then have them identify where the regrouping process went wrong. Prompt their thinking by asking them, “What should happen to the hundreds digit when we regroup?” or “How could we check whether this answer is correct?”
Your students might use estimation, addition, or a place value model to explain their reasoning. You can also have your students check their subtraction using addition. For example, after incorrectly solving 704 – 268 = 546, have them add 546 + 268. Since the sum is 814, this proves that 546 is not the correct answer. This method gives them another way to confirm their answer, which reinforces the relationship between addition and subtraction while encouraging your students to take responsibility for checking their work.
Make Subtraction With Regrouping Easier to Understand
Teaching subtraction with regrouping takes patience, especially as students work with larger numbers and multiple exchanges. The important thing is to give them time to understand what they’re doing before expecting them to work quickly. Place value models, organized notes, estimation, and meaningful practice can all help students become more confident with subtraction.
Remember, not every student will understand regrouping at the same pace, and that’s okay! Some may need a few extra examples or more time working with visual models before they’re ready to solve problems independently. Keep encouraging your students to explain their thinking, ask questions, and check their work. With consistent practice and the right support, those confusing regrouping steps can gradually become something your students understand and feel confident tackling on their own.
Find More Math Resources for Your Classroom
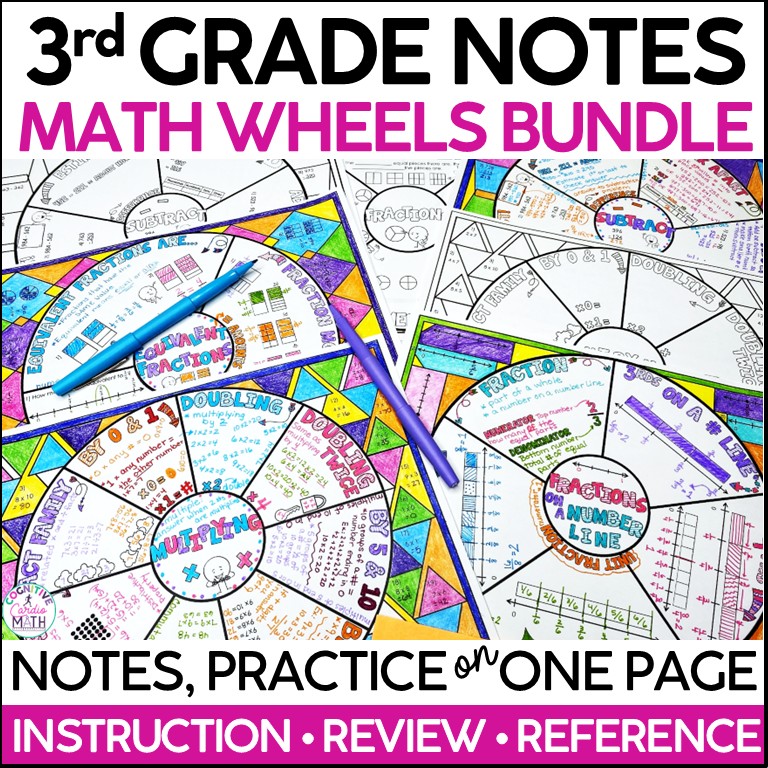
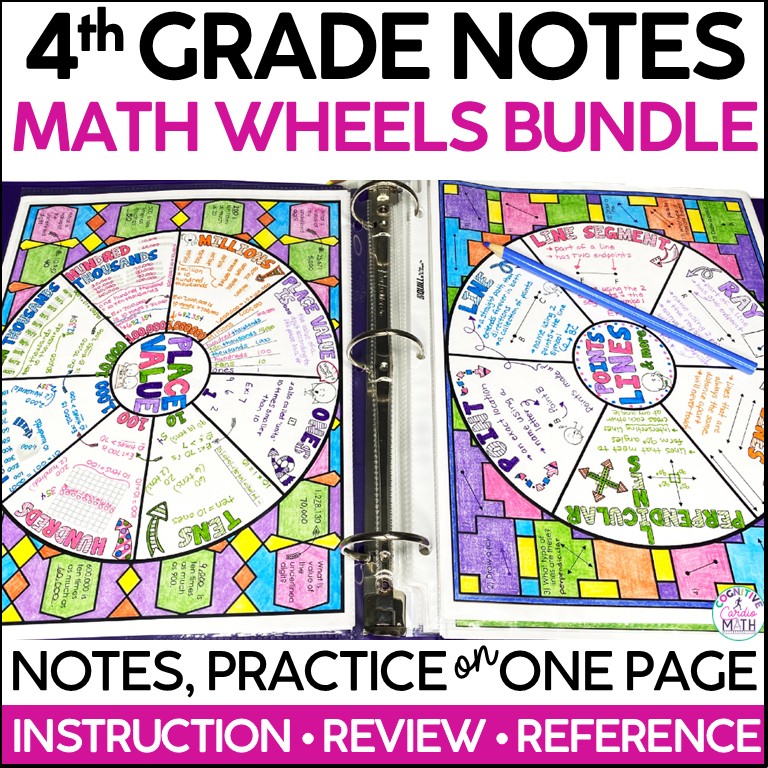
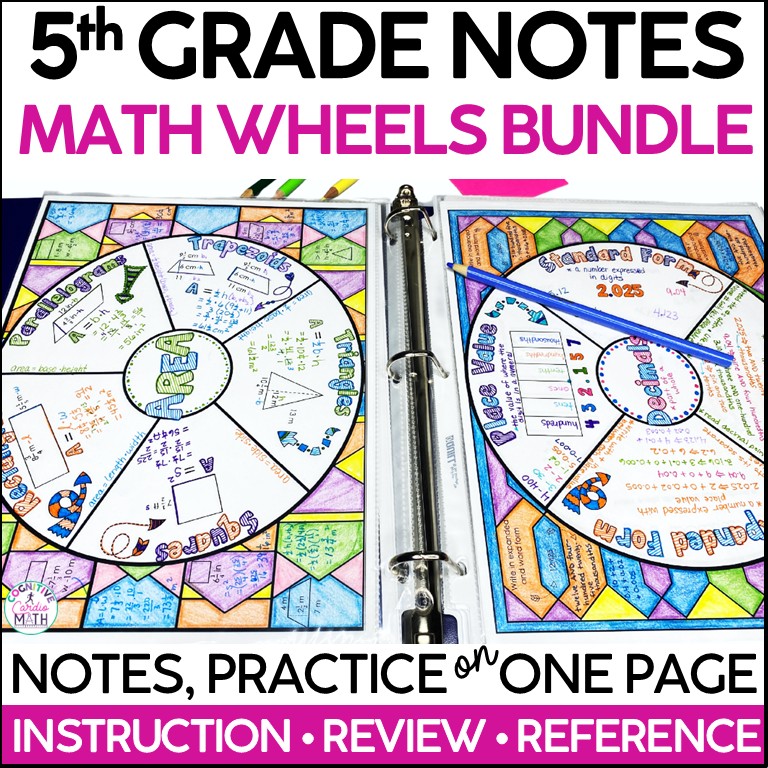
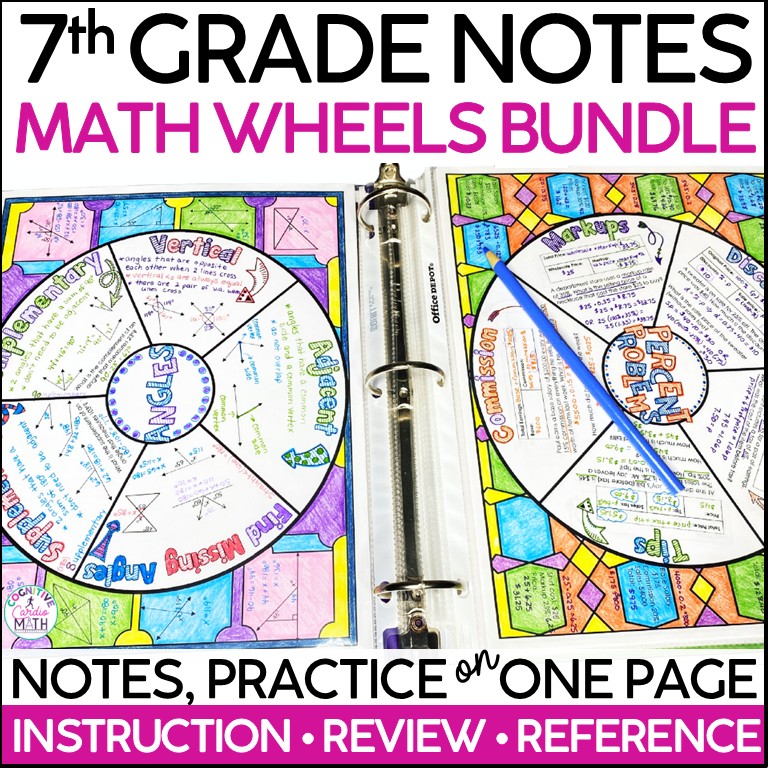
As you’re planning your next math lessons, think about which types of activities work best for your students. If you’ve enjoyed learning and using math doodle wheels to introduce new concepts, I have plenty of additional wheels that cover different math skills and grade levels. You can also explore task card activities and math games to give your students approachable ways to practice and review what they’ve learned.
You’ll also find complete math units to help you prepare for upcoming topics and cut back on planning time. Head over to my TPT shop to explore the different resources and find activities that fit your students’ needs. Whether you’re introducing a new skill or reviewing something you’ve already taught, there are options to help you plan your next lessons.
Save for Later
Pin this post to your favorite math Pinterest board so you can come back to these subtraction with regrouping strategies and resources when you’re planning your next math unit.