Have you ever started teaching coordinate planes and thought your students had it after the first few examples? They can tell you that x comes before y, and they confidently plot points in Quadrant I. Then negative numbers enter the picture, and suddenly someone plots (−4,3) in Quadrant IV. Your other student starts counting from the edge of the graph instead of the origin. Before long, you’re repeating, “x first, then y” for what feels like the hundredth time. Teaching your students to graph on coordinate planes becomes much easier when we slow down and build each part of the skill intentionally. Let’s break down this process together, and I’ll share my tried and true method for teaching graphing on coordinate planes in 6th grade.
Start With the Parts of Coordinate Planes
Before you ask your students to plot a single ordered pair, they need to understand what they’re looking at. A coordinate plane is more than a grid with numbers around the edges. Your students need to recognize the x-axis, y-axis, origin, and four quadrants before those pieces start working together. Taking a little extra time here can prevent plenty of confusion later.

I recommend beginning with a blank coordinate plane and building it with your students. First, you will want to point to the horizontal line and explain, “This is our x-axis. It runs from left to right.” Then you can identify the vertical y-axis and locate the origin where those two axes meet. Make sure your students label and understand the origin as (0,0), because that’s where every graphing problem will begin.
Next, have your students look at how the numbers change as you move away from the origin. Ask them, “What happens to our x-values when we move right? What happens when we move left?” You’ll repeat the same conversation with positive and negative y-values moving up and down the coordinate plane. This helps your students connect the signs to actual directions before they begin memorizing anything about quadrants.
Use a Coordinate Plane Math Wheel to Organize the Basics
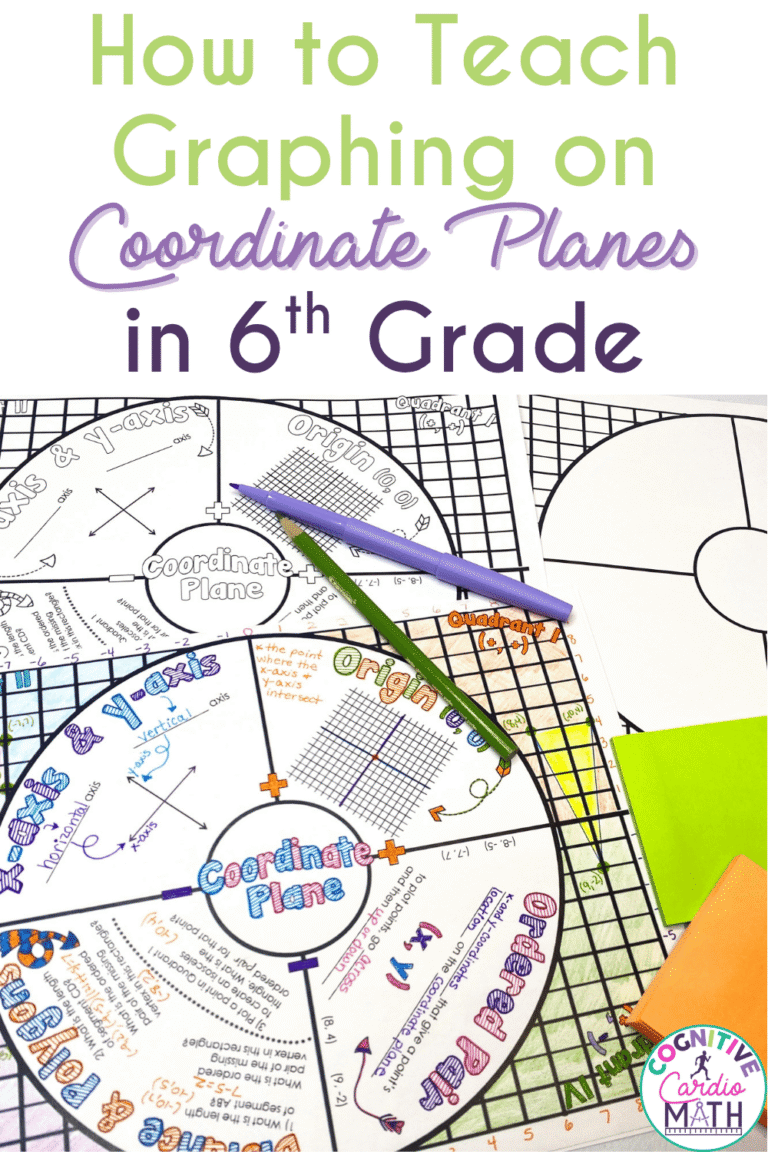
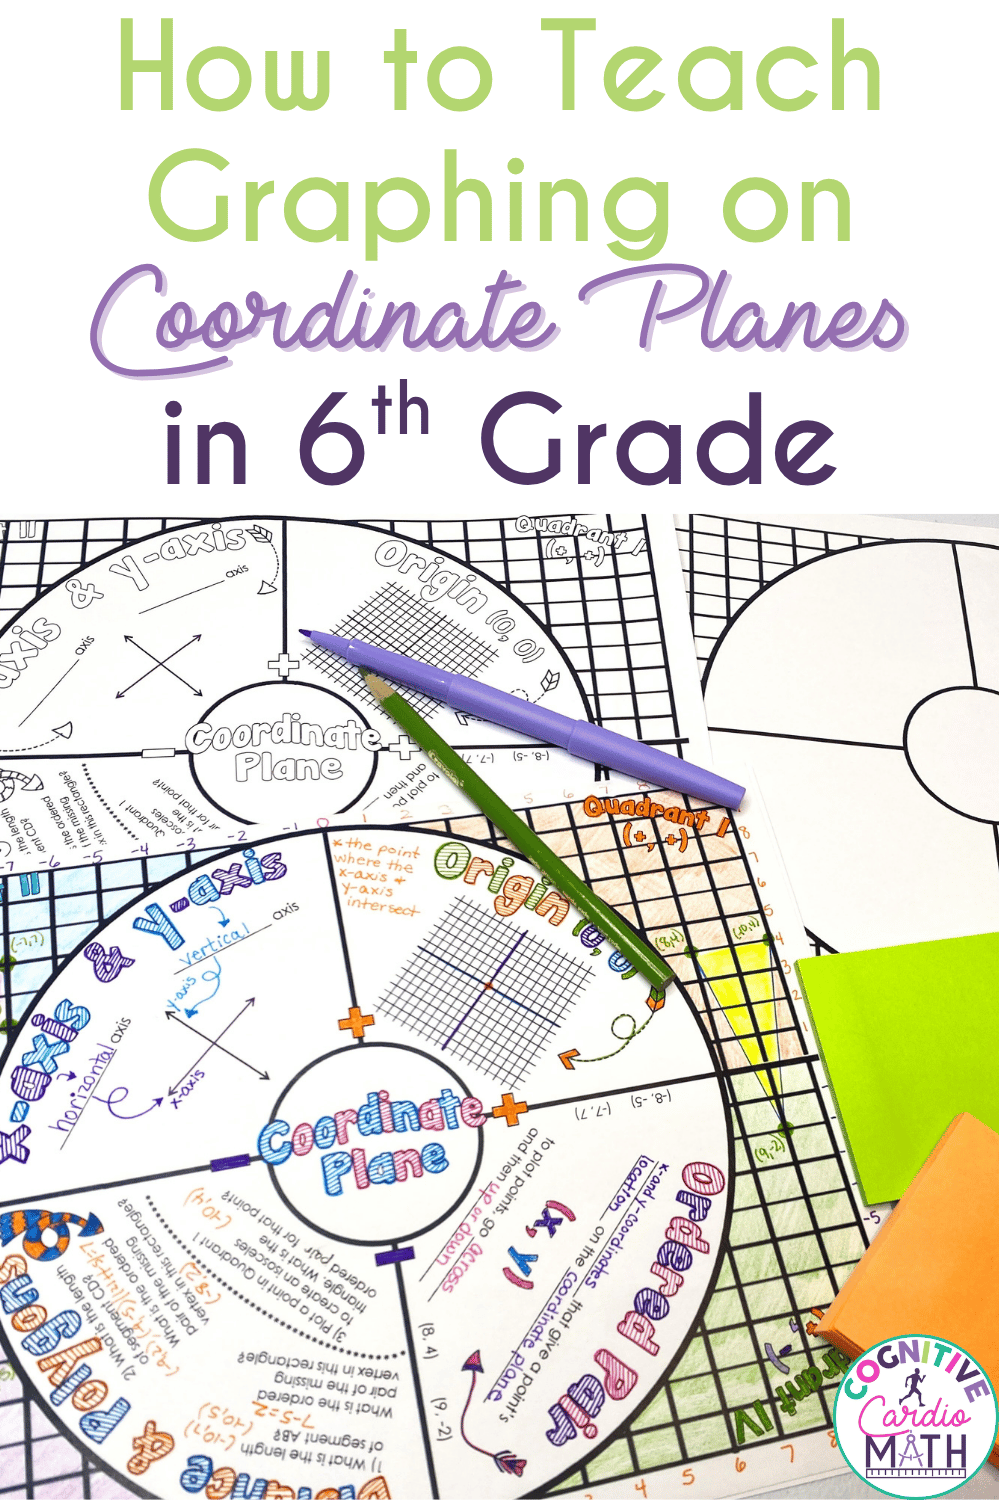
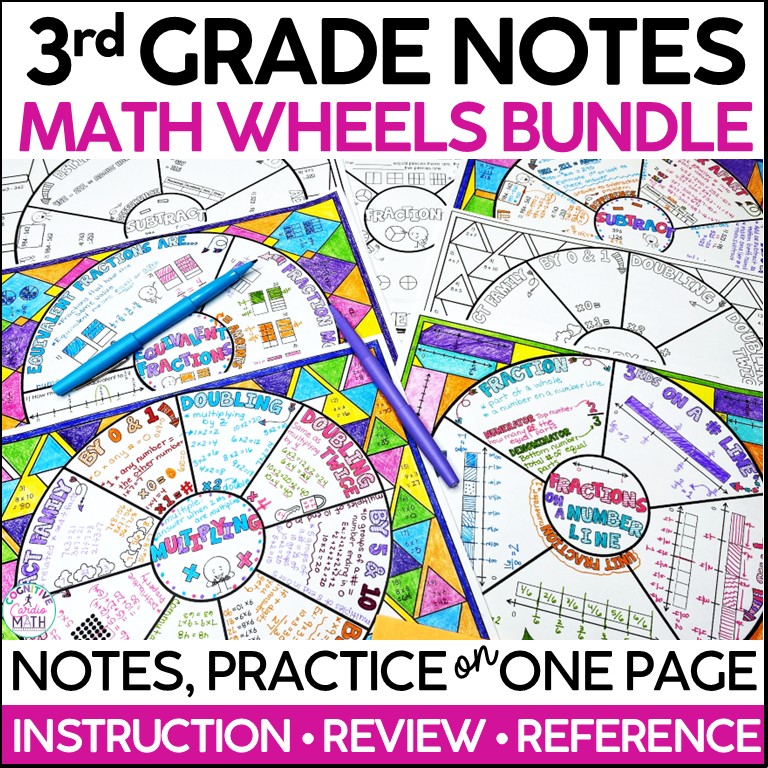
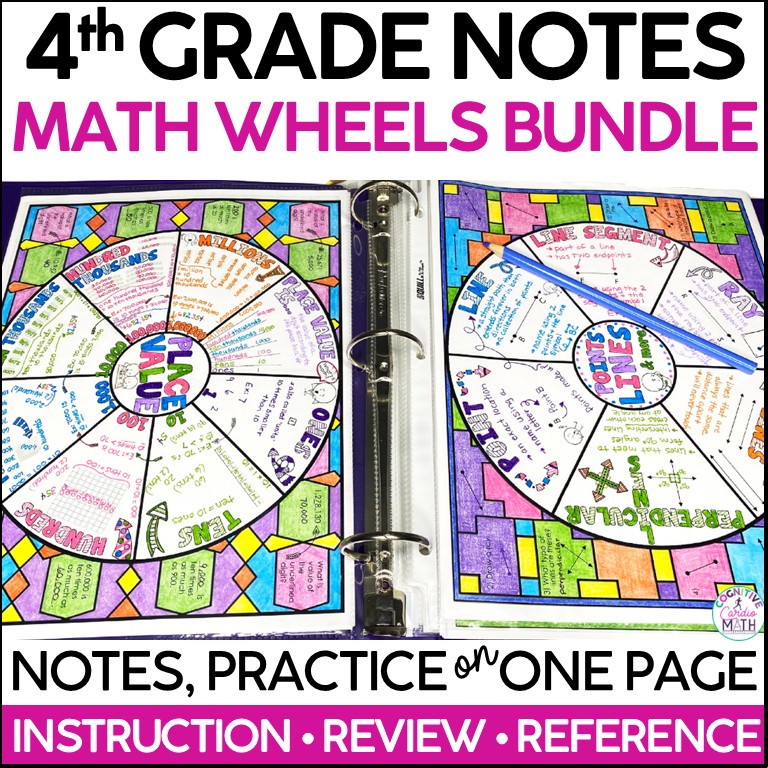
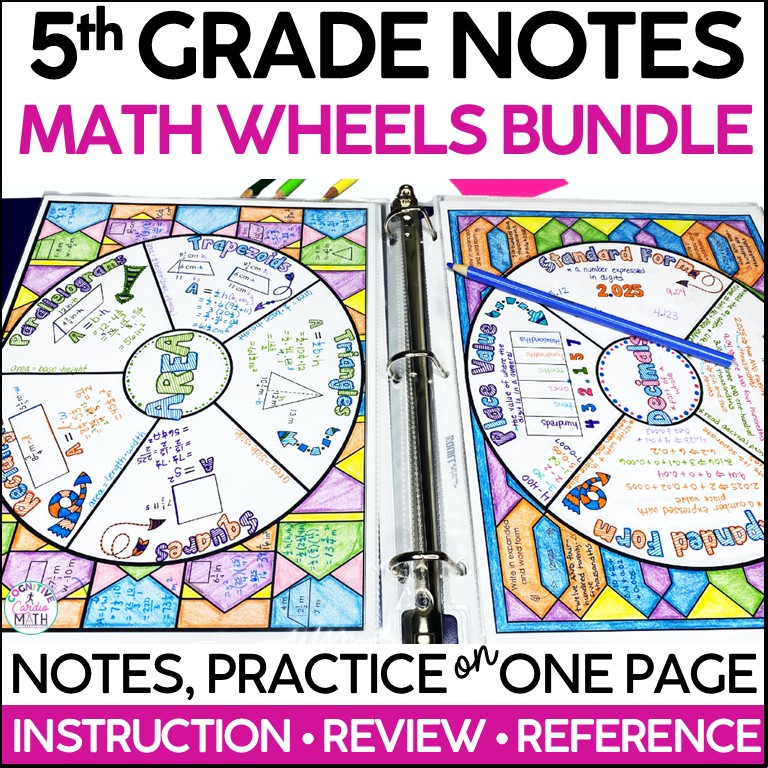
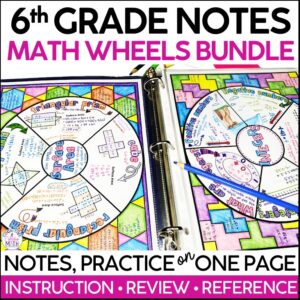
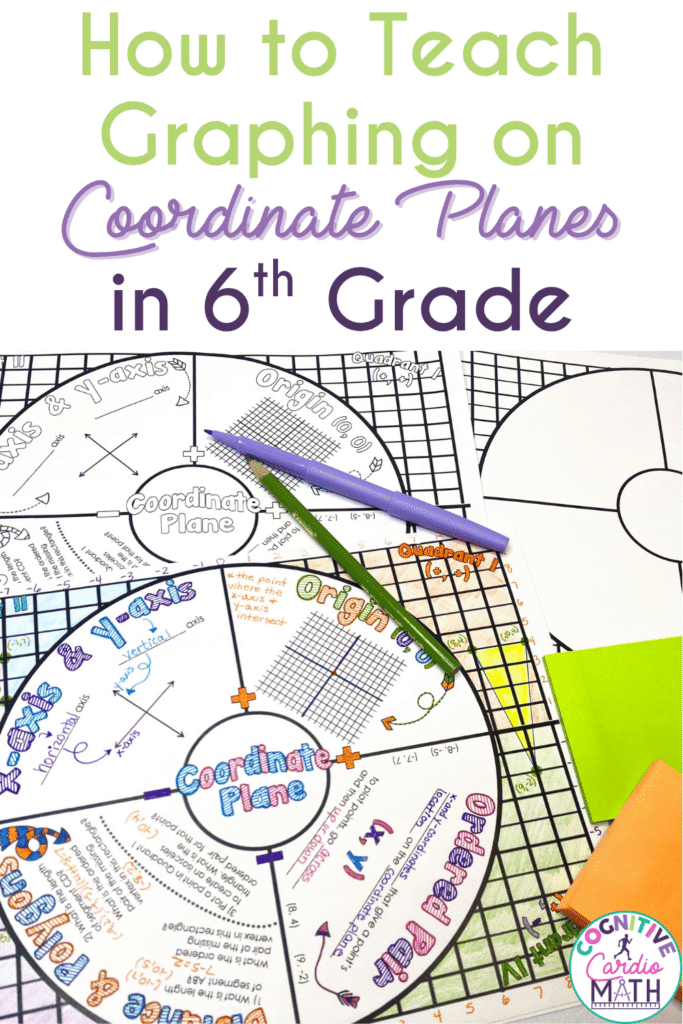
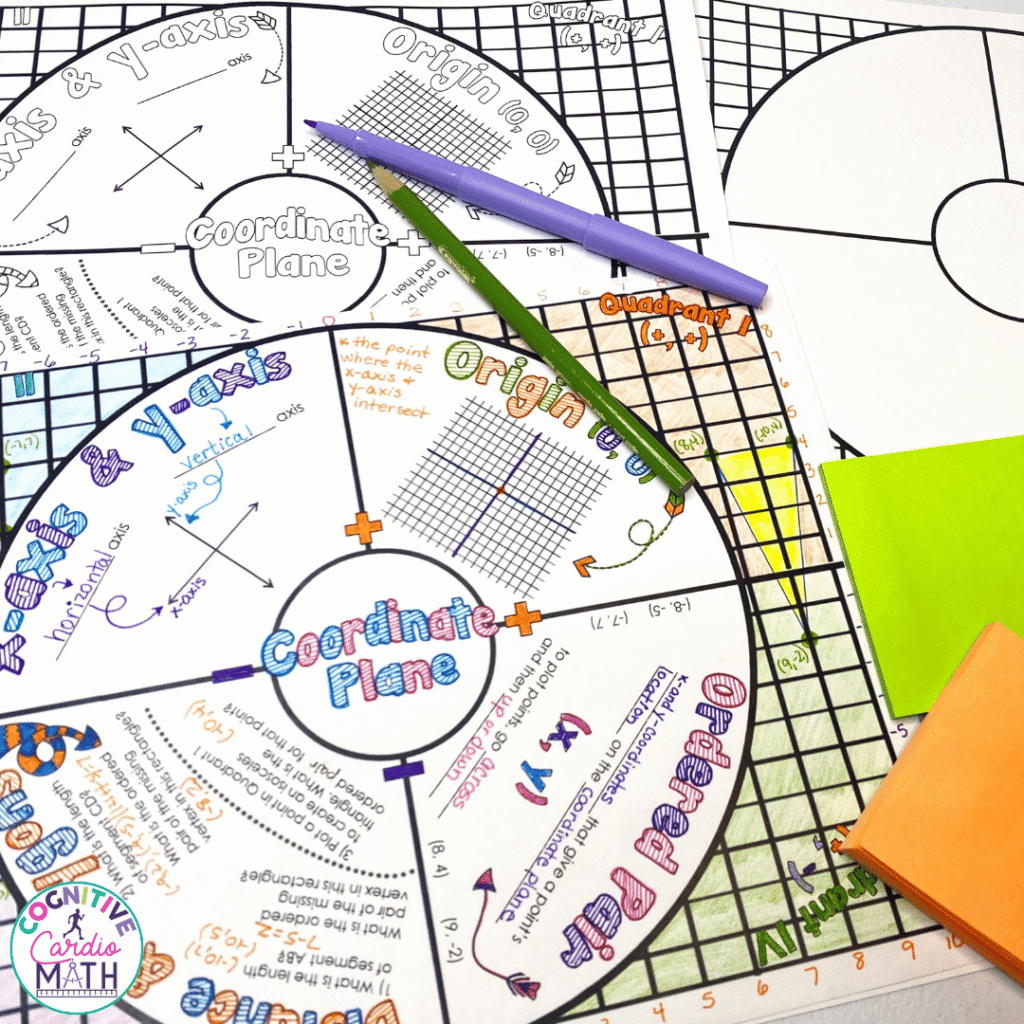
From there, I recommend using my Coordinate Plane Math Wheel to further introduce coordinate planes. Instead of giving your students several pages of notes at once, you can work through the wheel one section at a time. The sections cover the x- and y-axes, origin, ordered pairs, distance, polygons, and all four quadrants.
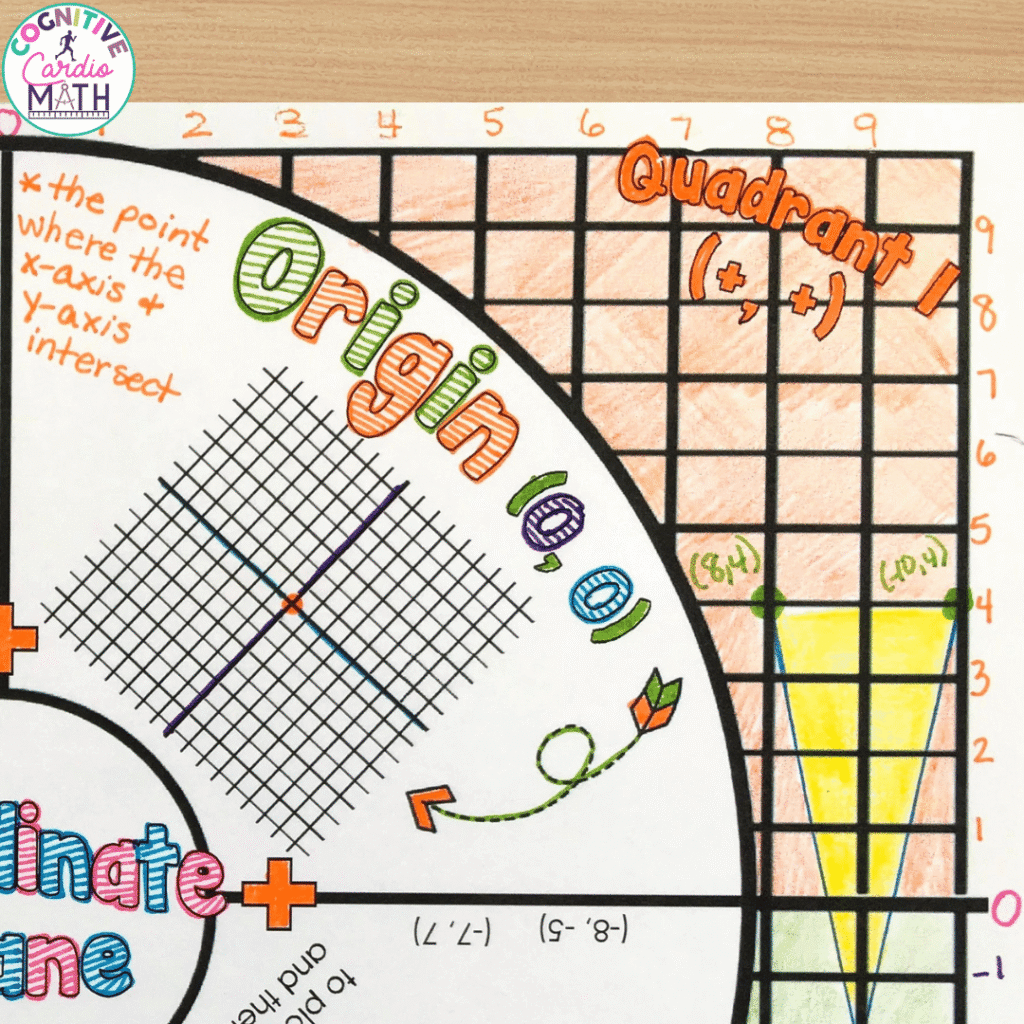
You might begin by completing only the x-axis, y-axis, and origin sections during your first mini lesson. As you model each part on the board, your students complete the same information on their wheels. Then you can move into the quadrant labels and their positive and negative coordinate patterns. Breaking the wheel into smaller pieces keeps your students focused on the concept you’re discussing instead of rushing to finish the page. Breaking down the concept into these manageable steps and sections also helps our students see how math can be approachable and attainable.
Teach Your Students How to Plot and Read Ordered Pairs
Once your students understand the coordinate plane itself, you’re ready to introduce ordered pairs. This is where you want to move beyond telling them to remember “x first, y second.” Instead, you want your students to understand that each number gives them a direction and a distance to travel. That makes (x,y) something they can interpret instead of another rule they need to memorize.
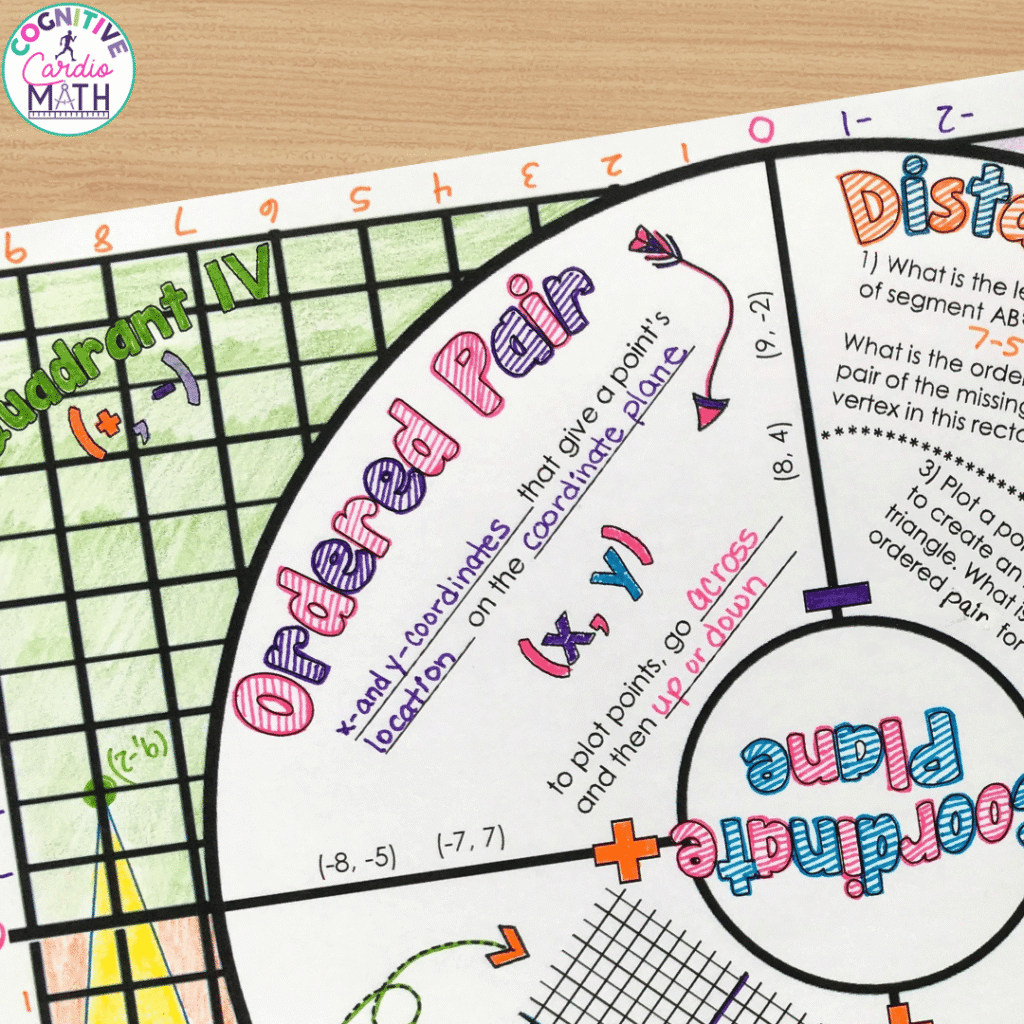
Start at the origin and model an easy point like (4,3). You might say, “Our first coordinate is 4, so I’m moving four spaces to the right along the x-axis.” Then stop and ask where the second coordinate tells you to move. You move three spaces up together and mark the point only after you’ve completed both movements.
Then you can reverse the process by placing a point on the graph and asking your students to name its ordered pair. You show them how to trace back to the x-axis first and ask, “What’s our x-coordinate?” Then you can find the y-coordinate and write the ordered pair together. Switching between plotting and reading points helps your students see that coordinates describe an exact location rather than a procedure they memorize.
Expand Graphing to All Four Quadrants
Once your students can confidently plot points in Quadrant I following the process you gave them, they’re ready to add negative coordinates. You don’t need to introduce four completely new procedures because the graphing process hasn’t actually changed. Your students still start at the origin, move according to x, and then move according to y. The only difference is that the signs now determine which direction they travel.
One way to make this visible is by comparing (4,3), (−4,3), (−4,−3), and (4,−3). Plot one point at a time with your students and talk about what changes. Ask questions like, “Which coordinate changed?” and “How did that change where our point landed?” Your students can begin seeing how positive and negative coordinates create the four quadrants.
This is also when your completed Coordinate Plane math wheel becomes especially helpful. Your students can look back at the four quadrants and their corresponding sign combinations as they work. You can still ask them to explain their movement aloud because you don’t want the reference to replace their thinking. Eventually, you want your students to look at (−5,−2) and know exactly where to begin without waiting for your assistance.
Move From Guided Graphing to Independent Practice
Once your students understand how to graph points in all four quadrants, give them opportunities to practice with gradually less support. Moving directly from teacher modeling to independent work can be a big jump. Work through a few problems together before asking your students to take over. This gives you time to catch mistakes while they’re still learning the process.
Start by graphing one point while your students watch, and you explain your thinking aloud. Next, graph a point together and ask your students to tell you each step before you move. Then have your students try a few problems while you circulate and check their work. As they become more confident, you can transition them into independent practice.
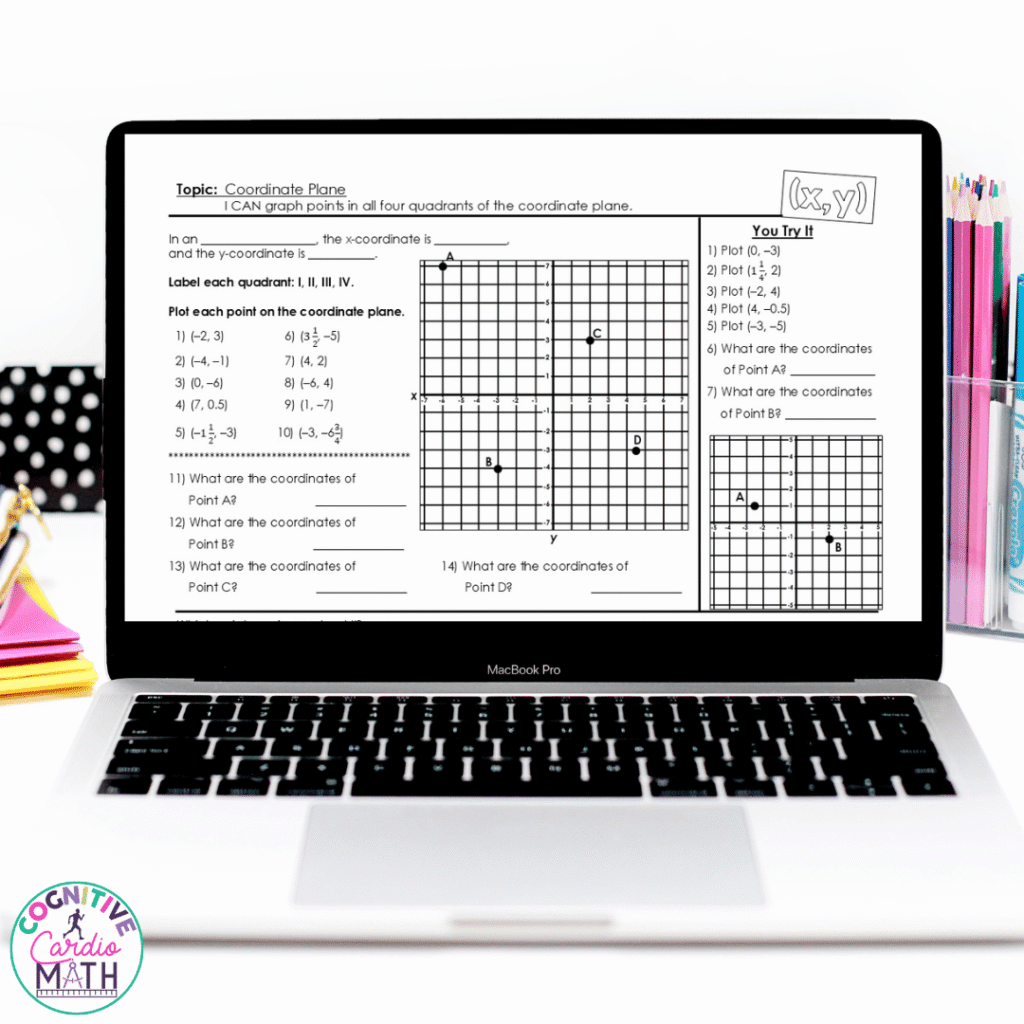
My Plotting Points lesson can give you a structure for this part of your instruction. If your students need another review, begin with the coordinate plane notes page to reinforce the axes, origin, and quadrants. Then work through the guided practice page together as your students plot points and identify ordered pairs. The page also includes “You Try It” questions, so your students can practice the same skills with less support. From there, you can use the independent practice page to bring plotting, identifying ordered pairs, and reflections together before checking understanding with an exit ticket.
Watch for Common Mistakes on Coordinate Planes
Even your students who understand coordinate planes will make mistakes as they begin working independently. One of the most common is reversing the x- and y-coordinates. You may also see your students count from the edge of the graph or move in the wrong direction with negative coordinates. These errors can actually help you decide what needs another quick model before moving forward.
When you notice several of your students making the same mistake, bring everyone back together for a quick example. Plot an incorrect point, potentially explaining your incorrect thinking out loud, and ask, “Convince me this point is right or wrong.” Have your students explain where you should start, which direction you should move, and how many spaces you should travel. That short discussion lets you address the misconception without reteaching the entire lesson.
Keep Coordinate Planes Visible After the Lesson
Your students may understand coordinate planes during the lesson, but that doesn’t mean the skill will stick automatically. Once you move into another unit, those details can quickly become fuzzy. Keeping a coordinate plane visible gives you an easy way to revisit the skill without planning another full lesson.
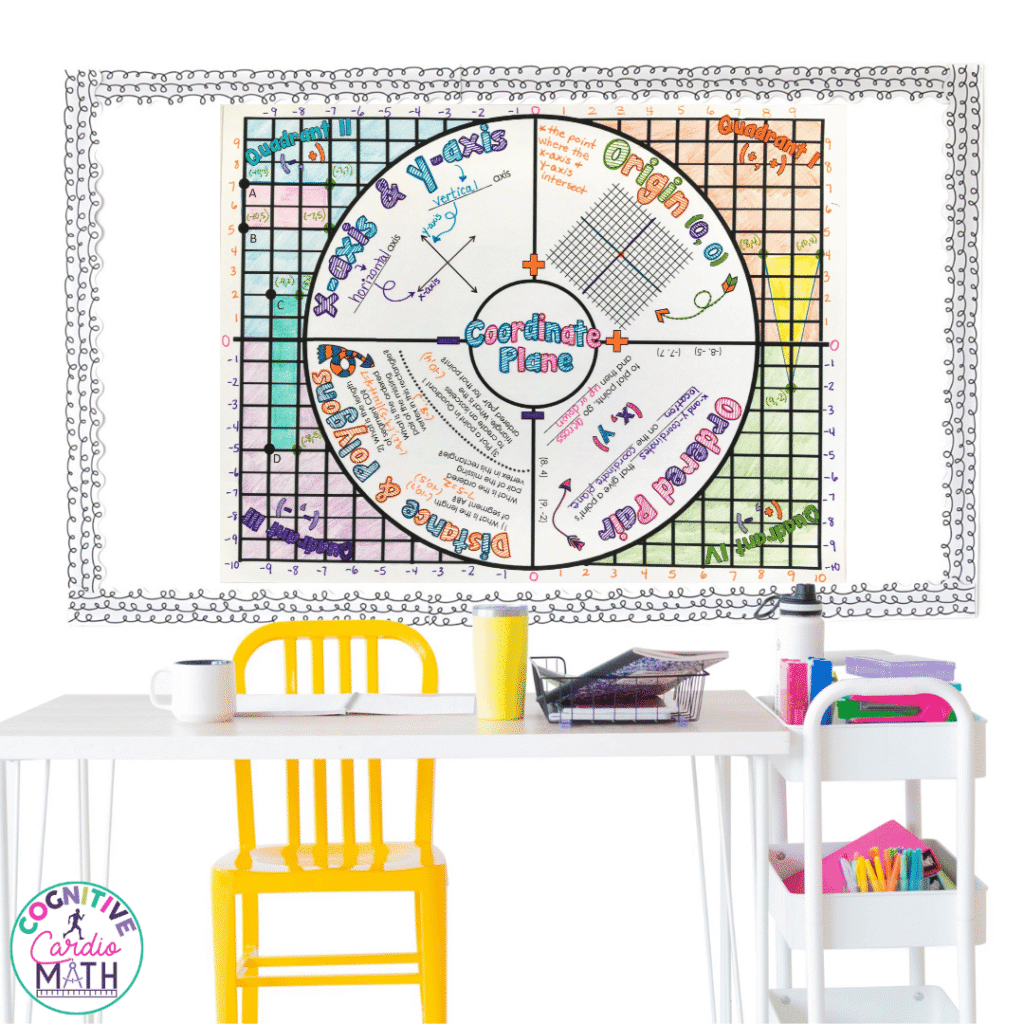
One option is to create a large coordinate plane on a bulletin board or classroom wall. Then, add different problems to it throughout the following weeks. You might post an ordered pair and ask your students to plot it or add a point they need to identify. Later, you can add polygons, missing vertices, or distance questions as your students learn those skills.
You don’t need to turn this into another lengthy assignment. Add one problem as a warm-up, early-finisher task, or quick review before another lesson. You could even challenge your students to create problems for classmates to solve. The coordinate plane stays useful long after the original lesson by making it interactive and giving your students ownership in it.
Build Confidence With Baby Steps
Teaching coordinate planes doesn’t have to be difficult. Just remind yourself to move slowly and check students along the way. If we rush the foundation of the x- and y-axis, we are sure to have issues later. But if we make sure that students are clear on the vocabulary and steps, future coordinate plane activities will be easier.
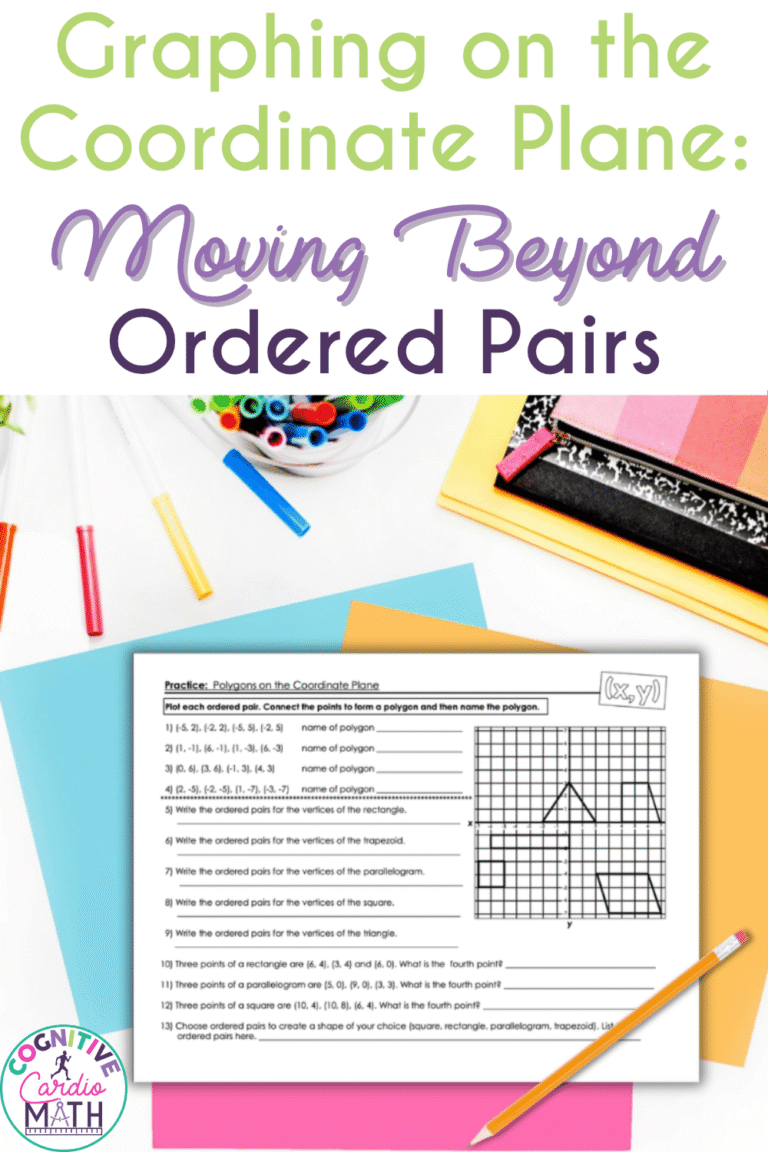
Speaking of future coordinate plane activities. . . if you are ready to move beyond ordered pairs, then check out part 2 of this coordinate plane blog post, Graphing on the Coordinate Plane: Moving Beyond Ordered Pairs. In that post, I’ll walk you through plotting reflections, polygons, distance, and more.
Save These Coordinate Plane Ideas for Later
Save this post to your favorite math Pinterest board so you can find it when you’re ready to teach coordinate planes. You’ll have the lesson sequence, modeling ideas, practice suggestions, and strategies ready when you need them.